(Speaking of boats) class and timeless elegance are often associated with lines of yesteryear, deep soars and slender hulls, heart-shaped sterns and mirrors ‘away’ from the water… and Teak, teak to no end… sweetheart blankets and immaculate brass. Simply put, teak has always been one of the elements that, more than others, give a totally different tone to a hull. And it has no purely aesthetic value. Yet, advantages and looks aside, teak is also a ‘little tragedy’ to maintain, both on the cleaning and wear front and on the coments front (the gumming, to be clear, that ‘caulked’ gap we find between one plank and the next). Just speaking of the latter, here’s how to tackle coment replacement in pure DIY style.
Teak and Maintenance: how to replace coments
In previous articles related to this short series on hull maintenance (especially Classic), we have addressed issues related toosmosis, wear and tear on steering components and themast itself. It is now our turn to tackle the deck, and what better element to start with than teak. Before we focus on its routine maintenance, however, let’s first look at how to replace its coments, and then figure out how to keep it looking its best. Of course, the same rule always applies: turning to a professional is never something to be ashamed of, especially if you don’t want to carry out a single repair, but want to redo the entire deck (a job that takes entire weeks, requires special tools, and, in short, is not a trivial matter). Knowing the theory, however (or one of the potential techniques for getting to the result) never hurts anyway, and it allows you to take action on your own where the scope is narrow enough for you to do it yourself.

Teak and Comenti: when to intervene
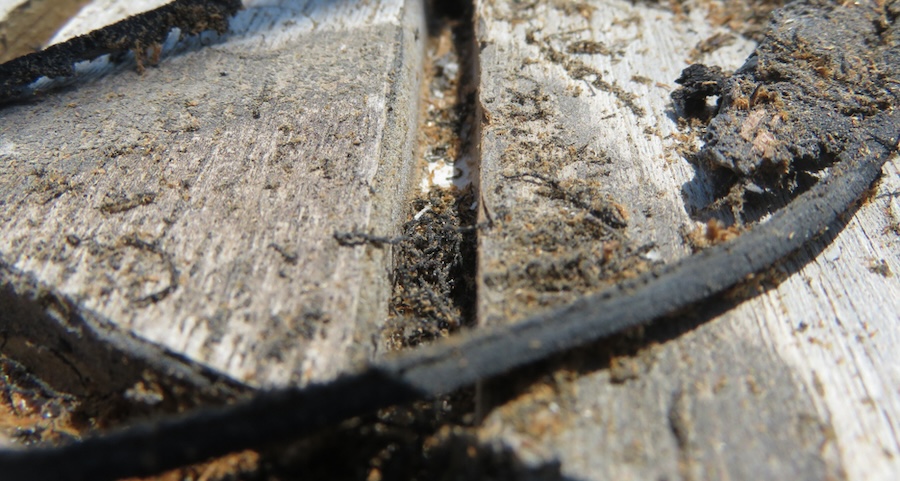
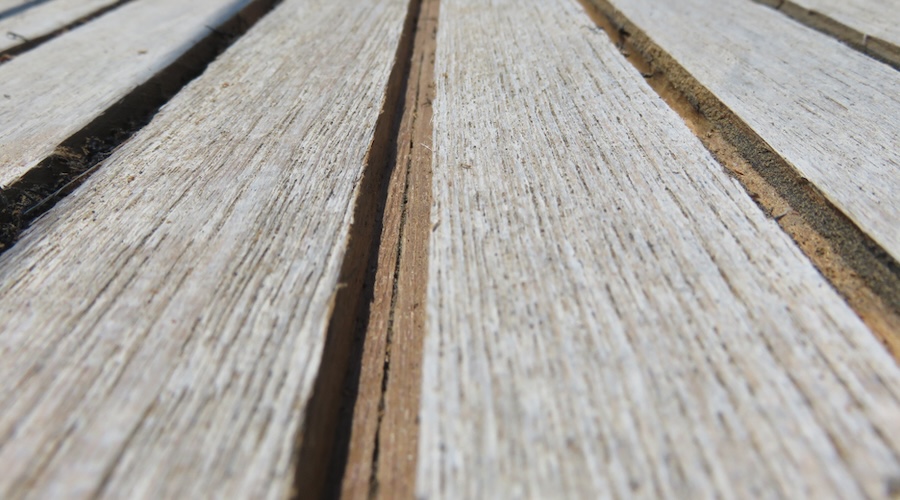
First, when do conditions arise for which it may make sense to intervene? Sometimes, the wear and tear is obvious, the coments are skipping, failing, or beginning to ‘peel,’ and intervention is required by the observation itself: trivially, the coments are failing, if not already skipped. Other times, however, the need is less obvious, or perhaps it appears less necessary, and, simply, the teak appears to be thinner than the coments, which are so prominent in relation to the surface of the wood. Again, prevention is better than cure. The absence or damage of the coments, in fact, can lead to far greater problems than simply the unsightly factor.

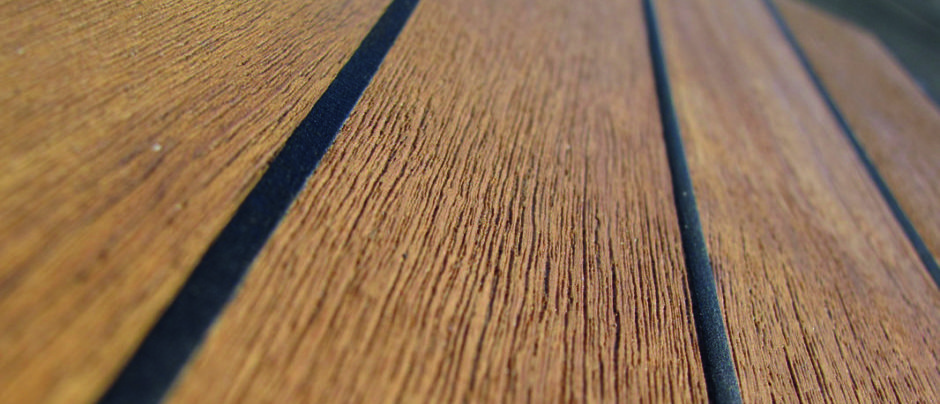
The teak planks, in fact, are attached to the deck with an adhesive (except in ‘ancient’ cases, where they were screwed together for economy), and areon joined together laterally by a joint. The gap that results between these is called a comentum, usually sealed with a flexible polyurethane rubber (often sikaflex). The purpose of the coments is to prevent water from seeping into the gutters and joints, thus preventing moisture from seeping underneath them and damaging their integrity. Added value, of course, they offer greater grip on deck.
Teak and Comenti: the tools of the trade.
First of all, in order to be able to intervene properly (even in a single area, no one expects you to necessarily redo the entire deck, on the contrary…), it is good to know the tools of the trade, that is, all the elements that we will not be able to do without during the operation. First and foremost, however, you need the weather: it is indeed good to take the opportunity of a nice, dry and cool day (10-25 degrees) to ensure that the new inserts dry in the correct manner and timing. That said, we move on to the tools.
Basically, you will need: latex gloves, duct tape, a box cutter (or a small-bladed, sharp knife), some acetone, a cloth, a spatula, and sealant (one-component elastic polyurethane-usually, black Sikaflex). A broom (or large brush), or a handheld vacuum cleaner can also be very useful.
Teak and Comenti: intervention and installation
To proceed properly, the work is usually divided into three distinct phases: removal of the present material; new laying; and finishing. First, it is a good idea to mask the area of operation with tape, thus protecting the surrounding teak and demarcating the area of operation. This step is followed by removing the rubber present in the grooves. At this stage, it is important to make sure that you have removed most of the residue with the cutter (or knife), but be careful not to damage the teak, or remove sections of it. Having done this, a broom or hand-held vacuum cleaner may come in handy to ensure the removal of any unwanted residue.
With the rubber removed, it is a good idea to define the groove within which to intervene. On average, between 4 and 6 millimenters is the space you want for a good area of intervention. Again, it is a good idea here to make sure there is no residue in the groove, which you are now going to clean with acetone. Once the latter has evaporated, it is time to move on to laying.

For laying, if you were using a ‘gun’ for spreading the product, it is good to keep the nozzle as close as possible to the bottom of the groove, proceeding steadily and precisely, keeping, indicatively, an angle between 60° and 90° degrees. Alternatively, you can spread the rubber with a small squeegee, being very careful not to spread the material everywhere, having to then go and remove it by sanding. Once the process is complete, it is a good idea to proceed with the covering suspended altogether in order to prevent the product from being damaged during the drying phase (waiting times are usually indicated on the package).
Once the product has solidified, the final stage will begin. With the sealant ready, it will be time to remove the excess. Here, again, you will intervene with a cutter (although, you may have seen it, the operation is also feasible with special chisels or sharp gouges). Once you have also completed this operation (to which you will have to pay the utmost attention, lest the whole job be in vain), you can move on to the removal of the protective tape, taking care not to remove, with these, also the sealant that you have just finished finishing. Obviously, take care not to scatter scraps and materials into the environment, especially if you operate in windy conditions and near water.

- You might also be interested in:
Timoneria e Manutenzione: cosa controllare e come (eventualmente) intervenire
Are you looking for or want to sell a Classic Boat?
- If you are looking for or want to sell a Classic Boat, remember our Used Boat Market(HERE), the ideal place for anyone looking for a Classic Boat to buy and/or, even more so, the ideal platform for those who have a desire or need to sell their vintage gem. If you have a Classic Boat to sell, or if you were looking for one, remember the Marketplace. Using it is as simple as it gets.
- Want to learn more about the world of Classic Boats (1967-1998), the iconic boats of the period, the legendary designers, the stories and races of the “golden age” of sailing? Check out our section dedicated to Classic Boats!
Check out the latest issue


Old boat makes good board! The legendary Fraglia schooner has been “re-launched” after 50 years.
Desenzano, Lake Garda, home of the FVD, Fraglia Vela Desenzano. A Lake classic replicates its launch 50 years after the first time. It is the Fraglia schooner, a light alloy school schooner, the first in Italy to ever be built

Classic Boat Cult | 6 meters overall: agile, compact and exceptional
Small, compact, exceptional. Three words to best describe 7 boats that, combined in size, we believe are absolute must-have gems-both for culture and for potential purchase. In fact, in this our review of the great Classic Boats of the past,

5 out-of-the-box ideas seen at the Genoa Boat Show for “sailing” without a boat
The Genoa Boat Show , for a few days, was transformed into a microcosm. A place where size does not matter (not only for boats) and where figures take on relative meaning. Those who live by the sea know

Classic Boat Club | Comet: 5 hulls celebrating Comar’s signature excellence
Forlì, 1961: Sipla, a small fiberglass Flying Junior manufacturer, is born. These are the dawn of large-scale production, and the new company soon becomes a pioneer in naval production in vtr. Growth is steady, small masterpieces such as Van de
